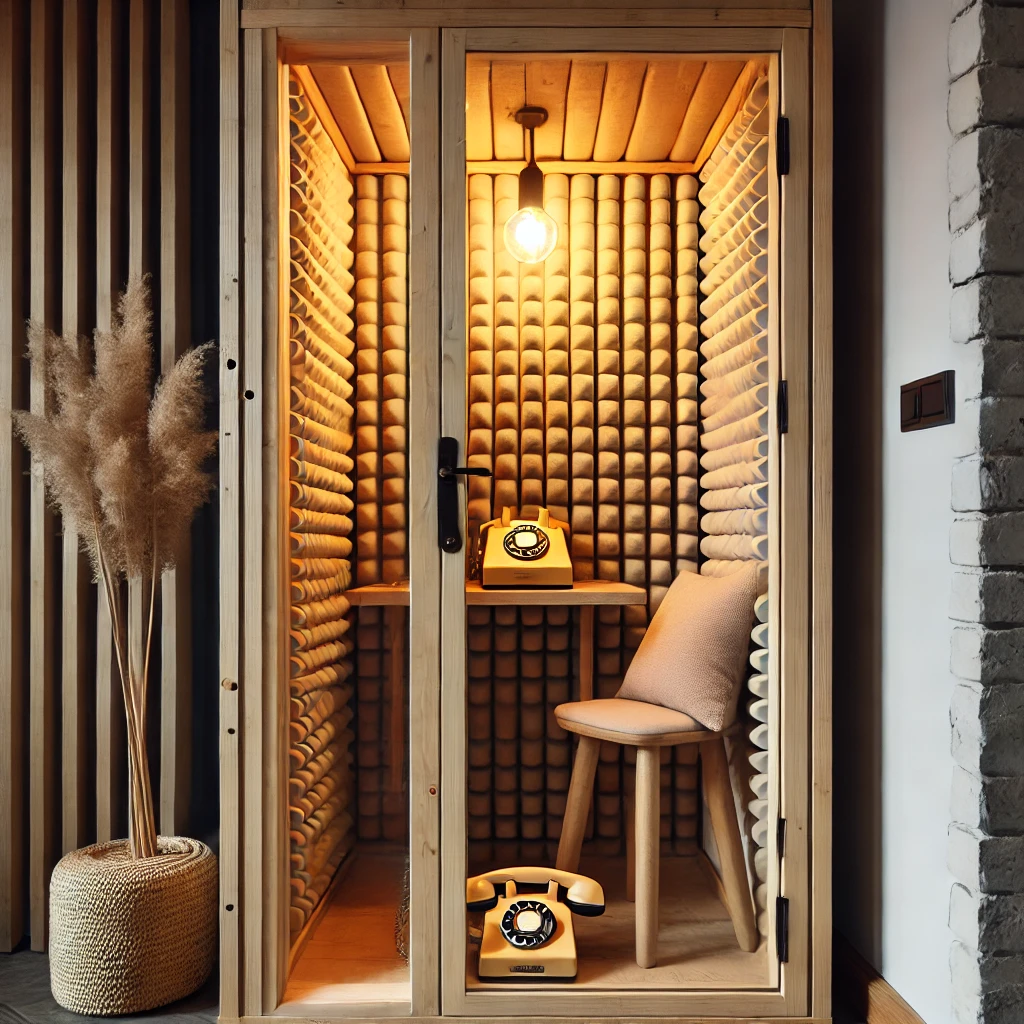
829
Materials Needed:
- Wooden frame (2×4 lumber for the structure)
- Plywood or MDF (for walls)
- Acoustic foam panels (for soundproofing)
- Weather stripping or rubber seals (for reducing noise leakage)
- Door (optional: sliding or hinged)
- Ventilation fan (to prevent stuffiness)
- LED light strip or small lamp
- Small table/shelf (to hold your phone/laptop)
- Power strip & cable management clips
- Paint or wallpaper (for aesthetics)
- Comfortable stool or chair
Step-by-Step Instructions:
1. Plan & Measure the Space
- Choose a quiet corner in your home (e.g., an unused closet, a nook, or a dedicated space).
- Measure the dimensions for your booth (a typical size: 3 ft x 3 ft x 7 ft).
2. Build the Frame
- Use 2×4 lumber to create a rectangular or square frame.
- Secure the frame to the floor/wall (or make it freestanding if you prefer mobility).
3. Add the Walls
- Attach MDF or plywood to the frame using screws or nails.
- If mobility is needed, use hinges or sliding panels for easy disassembly.
4. Soundproof the Interior
- Attach acoustic foam panels inside the booth for noise absorption.
- Use weather stripping around the door to minimize sound leakage.
- Add mass-loaded vinyl (MLV) or insulation if extra soundproofing is needed.
5. Install a Door
- Use a lightweight wooden or plexiglass door with a handle.
- Ensure the door seals well to reduce noise leaks.
6. Set Up Ventilation
- Install a small, silent ventilation fan at the top for airflow.
- Add an air vent near the bottom for circulation.
7. Add Lighting & Power
- Install an LED strip light or small ceiling lamp.
- Attach a power strip for charging devices.
8. Furnish & Decorate
- Add a small table or floating shelf for your phone or laptop.
- Place a comfortable stool or chair inside.
- Paint, wallpaper, or decorate for a cozy feel.
Bonus Tips:
✅ Use a curtain instead of a door for a budget-friendly option.
✅ Add a whiteboard inside for notes during calls.
✅ Make it modular (attach wheels if you want to move it around).


